Pytorch总结九之深度学习计算(2)自定义层、读取和存储、GPU计算
1.自定义层
介绍如何使⽤ Module 来⾃定义层,从⽽可以被重复调⽤
1.1 不含模型参数的自定义层
下⾯的 CenteredLayer 类通过继承 Module 类⾃定义了⼀个将输⼊减掉均值后输出的层,并将层的计算定义在了 forward 函数⾥。这个层⾥不含模型参数。
#1.自定义层
import torch
from torch import nn
class CenteredLayer(nn.Module): #类继承
def __int__(self,**kwargs):
super(CenteredLayer, self).__int__(**kwargs)
def forward(self,x):
return x-x.mean()
#实例化这个层,然后作前向运算
layer=CenteredLayer()
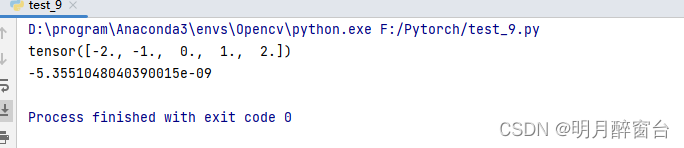
print(layer(torch.tensor([1,2,3,4,5],dtype=torch.float)))
#构造更加复杂的模型
net=nn.Sequential(nn.Linear(8,128),CenteredLayer())
#下边打印自定义层各个输出的均值,因为均值是 浮点数,所以他的值是一个很接近0的数
y=net(torch.rand(4,8))
print(y.mean().item())
output:
1.2 含模型参数的自定义层
如果⼀个 Tensor 是 Parameter ,那么它会⾃动被添加到模型的参数列表⾥。所以在⾃定义含模型参数的层时,我们应该将参数定义成 Parameter ,还可以使⽤ ParameterList 和 ParameterDict 分别定义参数的列表和字典。ParameterList 接收⼀个 Parameter 实例的列表作为输⼊然后得到⼀个参数列表,使⽤的时候可以⽤索引来访问某个参数,另外也可以使⽤ append 和 extend 在列表后⾯新增参数。
#含模型参数自定义层
class MyDense(nn.Module):
def __init__(self):
super(MyDense, self).__init__()
self.params = nn.ParameterList([nn.Parameter(torch.randn(4, 4)) for i in range(3)])
self.params.append(nn.Parameter(torch.randn(4, 1)))
def forward(self, x):
for i in range(len(self.params)):
x = torch.mm(x, self.params[i])
return x
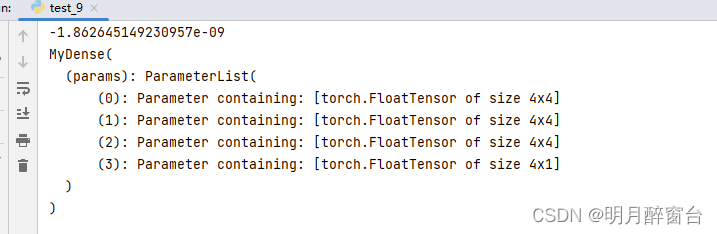
net = MyDense()
print(net)
output:
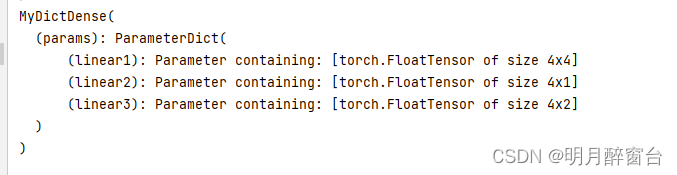
⽽ ParameterDict 接收⼀个 Parameter 实例的字典作为输⼊然后得到⼀个参数字典,然后可以按照字典的规则使⽤了。例如使⽤ update() 新增参数,使⽤ keys() 返回所有键值,使⽤ items() 返回所有键值对等等,可参考官⽅⽂档。
class MyDictDense(nn.Module): #继承
    def __init__(self):
        super(MyDictDense, self).__int__()
        self.params=nn.ParameterDict({


            'linear1':nn.Parameter(torch.randn(4,4)),
            'linear2':nn.Parameter(torch.randn(4,1))
        })
        self.params.update({

      'linear3':nn.Parameter(torch.randn(4,2))})
    def forward(self,x,choice='linear1'):
        return torch.mm(x,self.params[choice])
output:
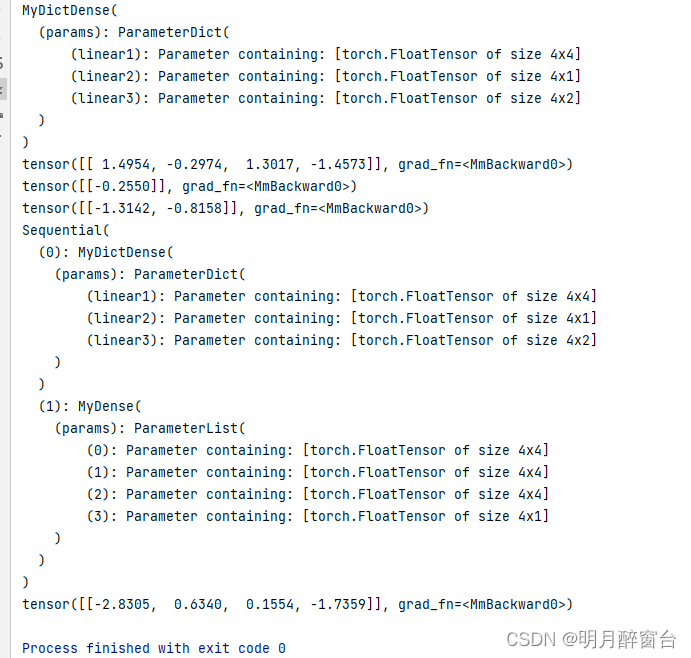
#根据传入的键值来进行不同的前向传播
x = torch.ones(1, 4)
print(net(x, 'linear1'))
print(net(x, 'linear2'))
print(net(x, 'linear3'))
也可以使⽤⾃定义层构造模型。它和PyTorch的其他层在使⽤上很类似.

#也可以i使用自定义构造层
net=nn.Sequential(MyDictDense(),MyDense(),)
print(net)
print(net(x))
2.读取和存储
在实际中,我们有时需要把训练好的模型部署到很多不同的设备。在这种情况下,我们可以把内存中训练好的模型参数存储在硬盘上供后续读取使⽤
2.1 读写tensor
我们可以直接使⽤ save 函数和 load 函数分别存储和读取 Tensor 。 save 使⽤Python的pickle实⽤程序将对象进⾏序列化,然后将序列化的对象保存到disk,使⽤ save 可以保存各种对象,包括模型、张量和字典等。⽽ laod 使⽤pickle unpickle⼯具将pickle的对象⽂件反序列化为内存。
下⾯的例⼦创建了 Tensor 变量 x ,并将其存在⽂件名同为 x.pt 的⽂件⾥。
import torch
from torch import nn

#save as .pt
x=torch.ones(3)
torch.save(x,'x.pt')

#load the .pt
x2=torch.load('x.pt')
print('x2:',x2)

#存储一个tensor列表并读取
y=torch.zeros(4)
torch.save([x,y],'xy.pt')
xy_list=torch.load('xy.pt')
print('xy_list:',xy_list)

#存储并读取一个从字符串映射到tensor的字典
torch.save({

      'x': x, 'y': y}, 'xy_dict.pt')
xy = torch.load('xy_dict.pt')
print('xy:',xy)
output:

2.2 读写模型
- 1.state_dict
PyTorch中 ,Module的 可 学 习 参 数 ( 即权᯿和偏差 ) ,模块模型包含在参数中 ( 通 过model.parameters()访问)。state_dict是⼀个从参数名称映射到参数Tesnor的字典对象。
import torch
from torch import nn

class MLP(nn.Module):
    def __init__(self):
        super(MLP, self).__init__()
        self.hidden = nn.Linear(3, 2)
        self.act = nn.ReLU()
        self.output = nn.Linear(2, 1)
    def forward(self, x):
        a = self.act(self.hidden(x))
        return self.output(a)
net = MLP()
print(net.state_dict())
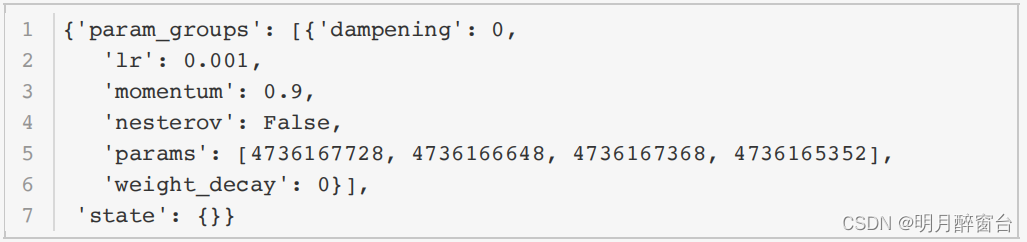
只有具有可学习参数的层(卷积层、线性层等)才有 state_dict 中的条⽬。优化器( optim )也有
⼀个 state_dict ,其中包含关于优化器状态以及所使⽤的超参数的信息。

optimizer = torch.optim.SGD(net.parameters(), lr=0.001,
momentum=0.9)
optimizer.state_dict()
- 2.保存和加载模型
- 1.仅保存和加载模型参数(state_dict)
- 2.保存和加载整个模型
#1.保存和加载state_dict(推荐)
torch.save(model.state_dict(),PATH)  #save
model=TheModelClass(*args,**kwargs)  #load
model.load_state_dict(torch.load(PATH))

#2.保存和加载模型
torch.save(model,PATH)
model=torch.load(PATH)
实验一下:
X = torch.randn(2, 3)
Y = net(X)
PATH = "./net.pt"
torch.save(net.state_dict(), PATH)
net2 = MLP()
net2.load_state_dict(torch.load(PATH))
Y2 = net2(X)
print(Y2==Y)
tensor([[True],
        [True]])
因为这 net 和 net2 都有同样的模型参数,那么对同⼀个输⼊ X 的计算结果将会是⼀样的。上⾯的输
出也验证了这⼀点。
此外,还有⼀些其他使⽤场景,例如GPU与CPU之间的模型保存与读取、使⽤多块GPU的模型的存储等
等,使⽤的时候可以参考官⽅⽂档。
3.GPU计算
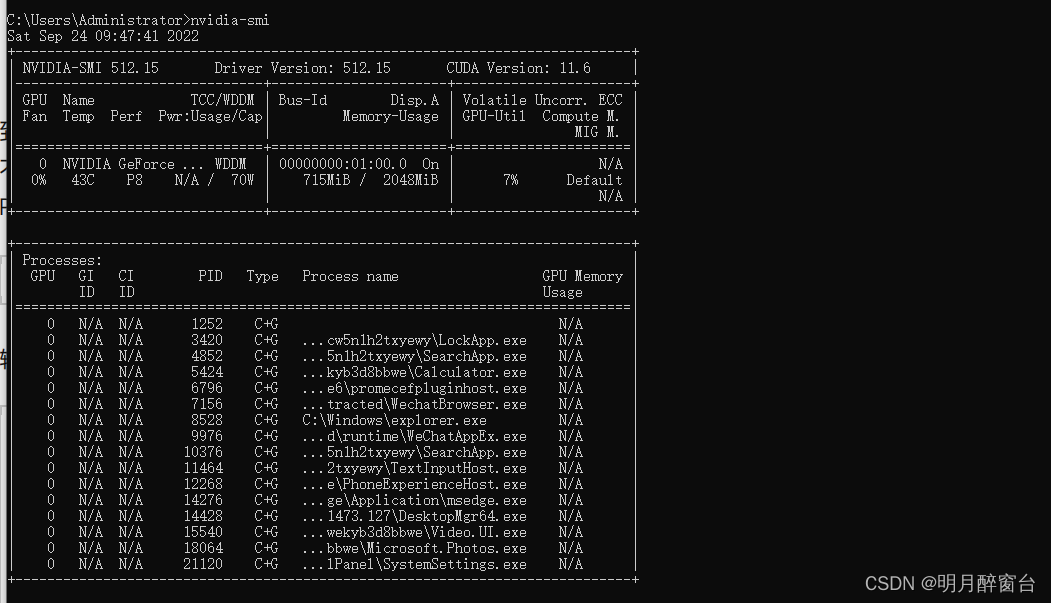
通过 nvidia-smi 命令来查看显卡信息:
#win/ubuntu
nvidia-smi
3.1 计算设备
PyTorch可以指定⽤来存储和计算的设备,如使⽤内存的CPU或者使⽤显存的GPU。默认情况下,PyTorch会将数据创建在内存,然后利⽤CPU来计算。
关于GPU的使用(以下输入以已安装了torch_GPU为前提):
print('GPU是否可用:',torch.cuda.is_available()) # 输出 True
print('GPU数量:',torch.cuda.device_count())
print('GPU索引号:',torch.cuda.current_device()) # 输出 0
print('GPU名字:',torch.cuda.get_device_name(0))
GPU是否可用: True
GPU数量: 1
GPU索引号: 0
GPU名字: NVIDIA GeForce GTX 1050
3.2 tensor的GPU计算
默认情况下, Tensor 会被存在CPU内存上。因此,之前我们每次打印 Tensor 的时候看不到GPU相关标识。
#tensor计算:
x=torch.tensor([1,2,3])  #tensor默认被存到内存上
x=x.cuda(0)  #将cpu的tensor复制到GPU上
print(x)
使⽤ .cuda() 可以将CPU上的 Tensor 转换(复制)到GPU上。如果有多块GPU,我们⽤ .cuda(i)来表示第 块GPU及相应的显存( 从0开始)且 cuda(0) 和 cuda() 等价
print(x.device) #通过device属性查看tensor所在的设备
#在直接创建的时候就指定设备
device = torch.device('cuda' if torch.cuda.is_available() else'cpu')
x = torch.tensor([1, 2, 3], device=device)
# or
x = torch.tensor([1, 2, 3]).to(device)
print(x)
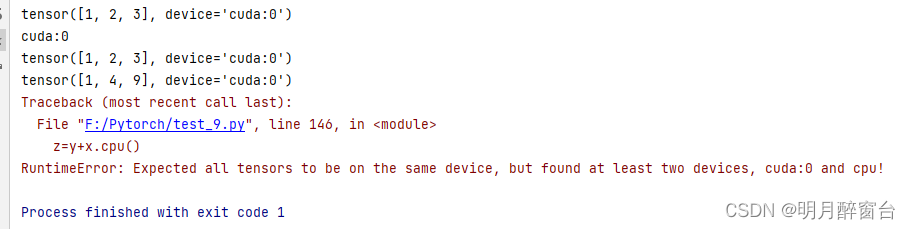
#对GPU上的数据进行运算,结果还是存放在GPU
y=x**2
print(y)
#不同内存上的数据不可以直接计算
z=y+x.cpu()
output:
3.3 模型的GPU计算
同 Tensor 类似,PyTorch模型也可以通过 .cuda 转换到GPU上。我们可以通过检查模型的参数的device 属性来查看存放模型的设备。
#模型的GPU计算
net=nn.Linear(3,1)
print('1:',list(net.parameters())[0].device)

#将其转换到GPU
net.cuda()
print("2:",list(net.parameters())[0].device)

#保证输入tensor和模型都在同一设备上
x=torch.rand(2,3).cuda()
print(net(x))
